
3D print warping is one of the most common causes of failed prints. Typically, warping happens when the edges and corners of a part cool and contract too quickly. This contraction generates severe internal tension, which pulls the model upward and away from the build plate. In addition to ruining the part’s adhesion, this issue can cause dimensional inaccuracies in the final object. To successfully prevent 3D print warping, you must control the thermal environment of your entire print area.
Prevent 3D print warping: Thermal Stability and Enclosures
Because drafts are the primary cause of uneven cooling, using a fully enclosed printer is the single most effective solution. An enclosure maintains a stable, warm internal temperature. Furthermore, this controlled environment allows the freshly extruded plastic to cool slowly and uniformly. Overall, this gradual cooling prevents the rapid contraction that causes corners to curl. If your machine is open, you should consider a specialized 3D Printer Enclosure Tent to shield your projects from any ambient airflow.
Mechanical Techniques for Plate Adhesion
In addition to temperature control, improving the physical bond between your print and the build plate is a crucial step.
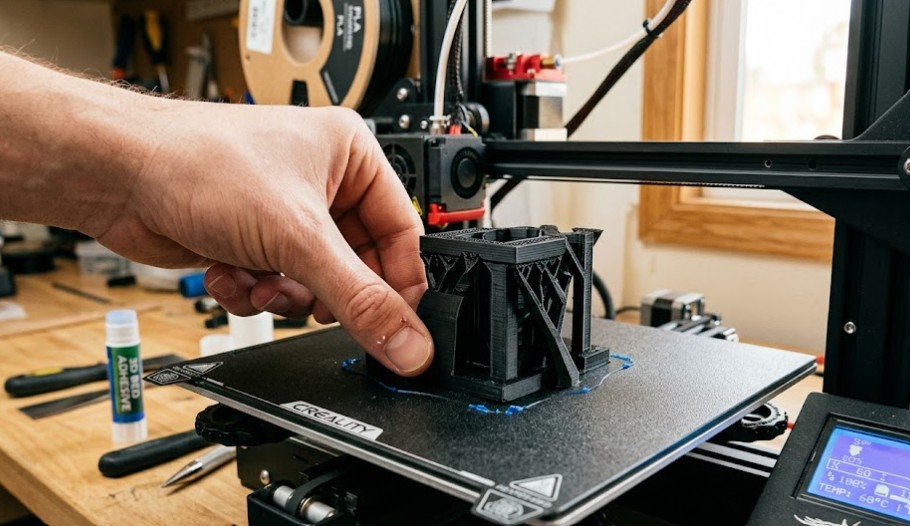
First, always start your print with a clean surface. Specifically, you must wipe your print bed with 99% isopropyl alcohol before every single print. This simple step removes all invisible oils from your fingers that cause adhesion failure. Furthermore, using a brim or raft is a vital slicer setting. To begin, a brim adds a wide boundary around the base of your part. As a result, this feature massively increases the total surface area and provides a much larger “grip” on the build plate. For a full breakdown of the necessary hardware, see our core 3D Printer Guide.
Comparing Bed Adhesion Solutions
| Adhesion Method | Ideal Materials | Pro (Benefit) | Con (Drawback) |
| PEI Plate | PLA, PETG | Instant Stick | Can bond too well to PETG |
| Glue Stick | ABS, Nylon | Reliable Hold | Requires cleaning after use |
| Mouse Ears | Large Flat Parts | Targeted Grip | Requires manual design steps |
Frequently Asked Questions about 3D Print Warping
To begin, you should set your bed temperature to 60°C for PLA, but increase it by 5 degrees if you are using a smooth PEI surface.
Normally, yes, but a raft is more wasteful than a brim. Therefore, we recommend trying a brim first before using a raft.
Mouse ears are small, circular single-layer additions placed at sharp corners in your design. Indeed, these disks add significant localized adhesion to the most vulnerable areas of a part.
Essential Adhesion Tools
- Standard Cleanliness: 99% Isopropyl Alcohol Wipes — To begin, use these wipes before every print to remove surface oils.
- Functional Fixative: Washable Glue Stick for 3D Printing — Moreover, a simple glue stick provides the necessary bond for everyday functional materials.
- Industrial Support: Specialized Adhesive for ABS and Nylon — For instance, use this strong fixative when printing challenging engineering-grade materials like Nylon or ABS.
Ultimately, mastering thermal control is the only reliable way to stop warping on large prints. For further details on standard machine safety and workspace ventilation, please return to our primary 2026 3D Printing Guide.

Recent Comments